3. Your first game
This will guide you through the process of creating a very simple game using Hiber3D.
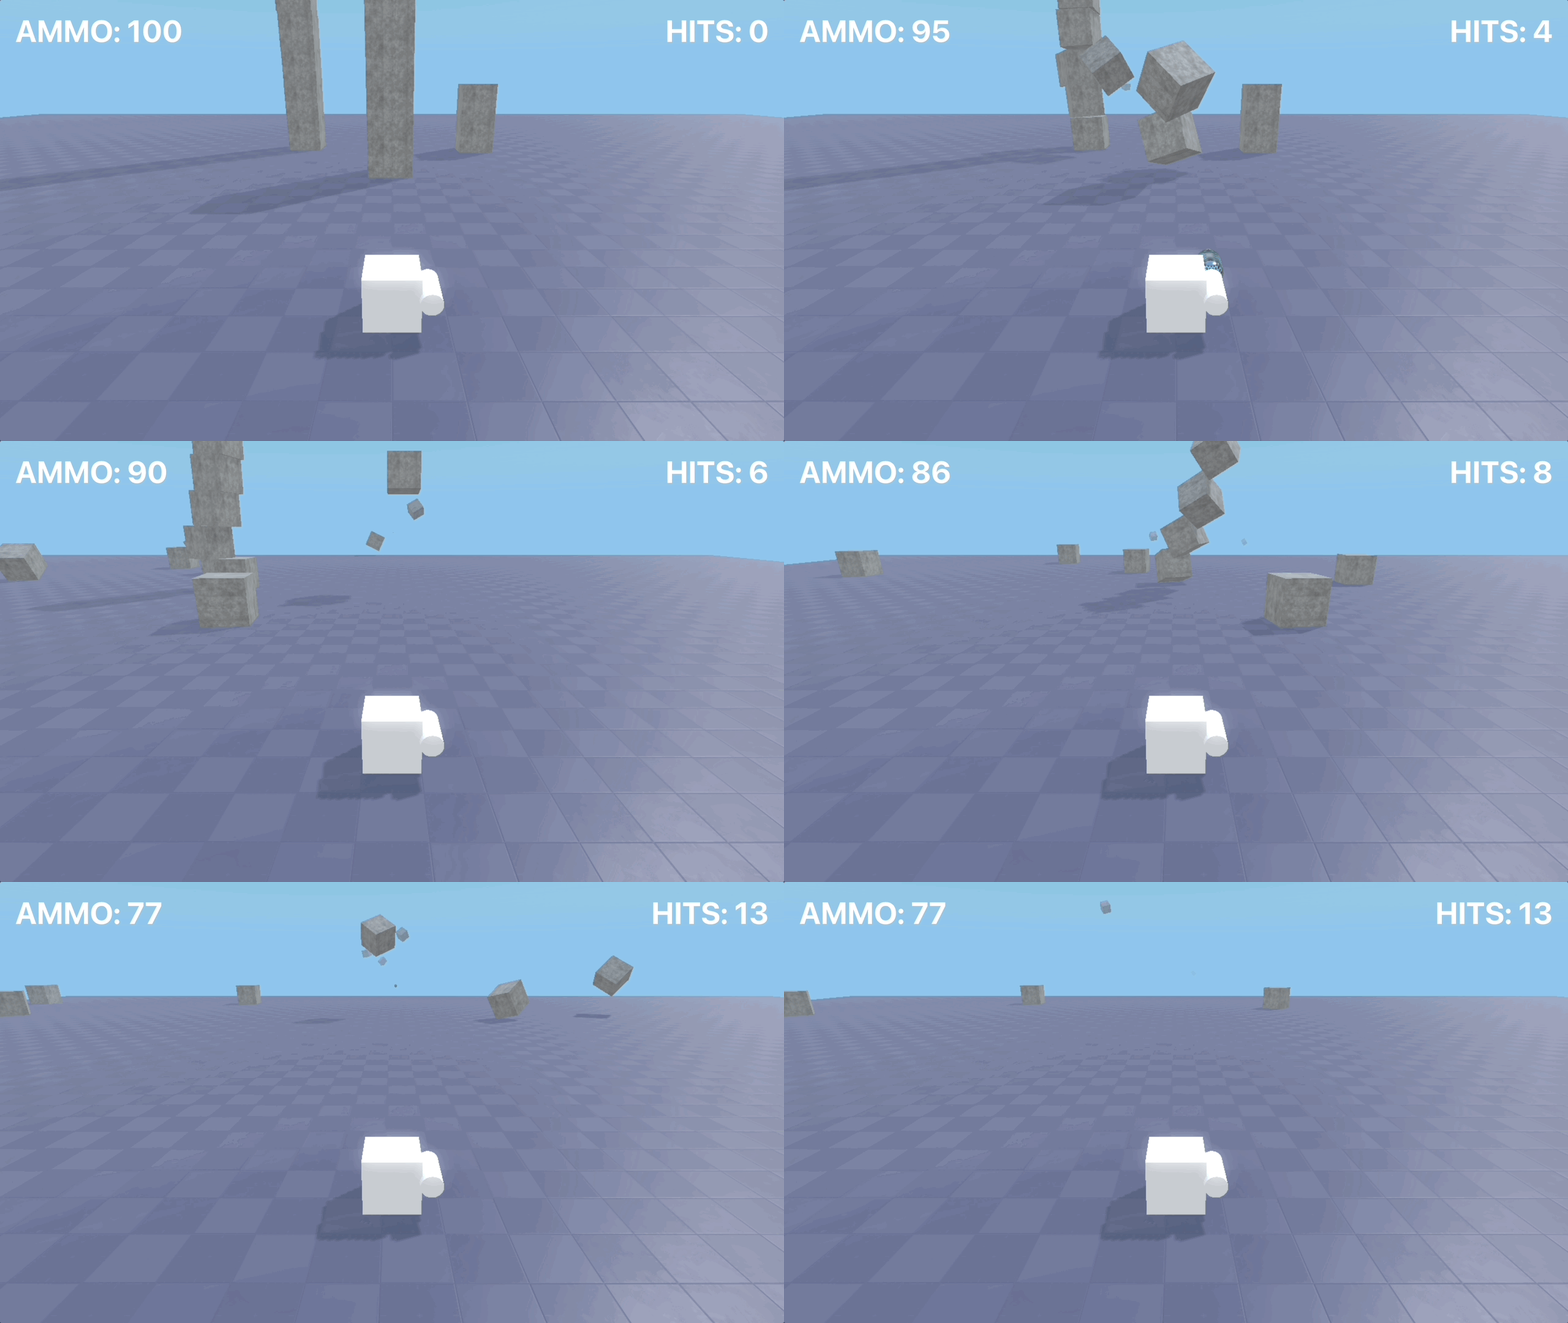
Below is a playable version of the game we will create. Play it by clicking in the iframe below, Press WASD to move, SPACE to shoot.
Starting point
This guide assumes you have followed the installation guide and have a new project opened in the editor.
1. Add movement
- Add the
movement.jsscript to the Cube entity in the scene. - Press play to try it (Move around using WASD keys). Then back to edit mode.
- Lets make the camera follow the cube when moving: Move the camera entity to be a child of the Cube entity.
- Press play to try. Then back to edit mode.
- Adjust the camera transform via inspector to get a nice view of the cube when moving around.
- Open the
movement.jsscript and adjust movement speed, try changing it while play mode is active to see live results.

2. Add a gun
- Add a child entity to the cube, name it Gun.
- Add the
gun.jsscript to the entity. - Press play and try shooting with SPACE.
- Adjust the transform position of the gun entity to change where the bullet shoots from.

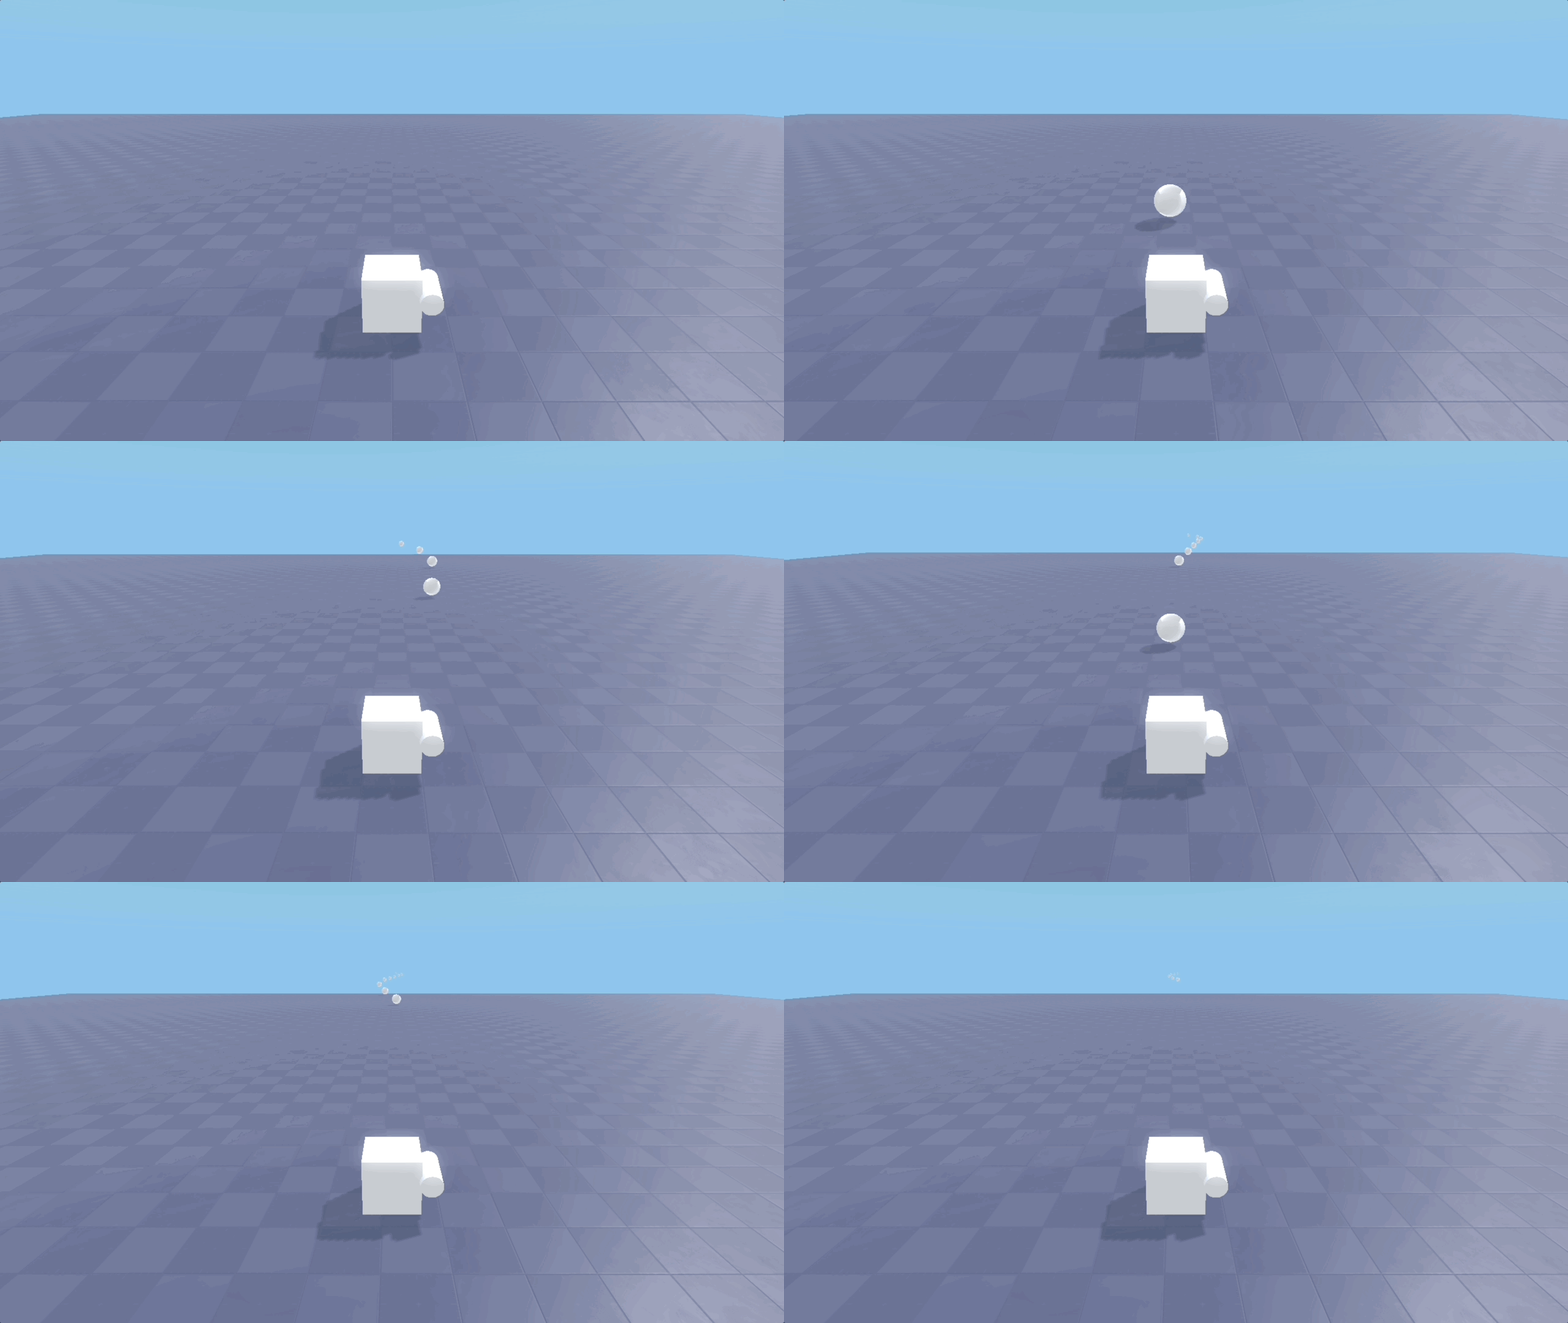
3. Make a nicer gun
- Add a child entity to the Gun entity and name it
Model. - Add a Renderable component and choose the cylinder mesh.
- Choose a material
- Scale and rotate the cylinder to make it look nice.

4. Adjust the bullet
-
Create a new scene: Right click the scenes folder, choose “New file…” and name it
bullet.scene. -
Open the
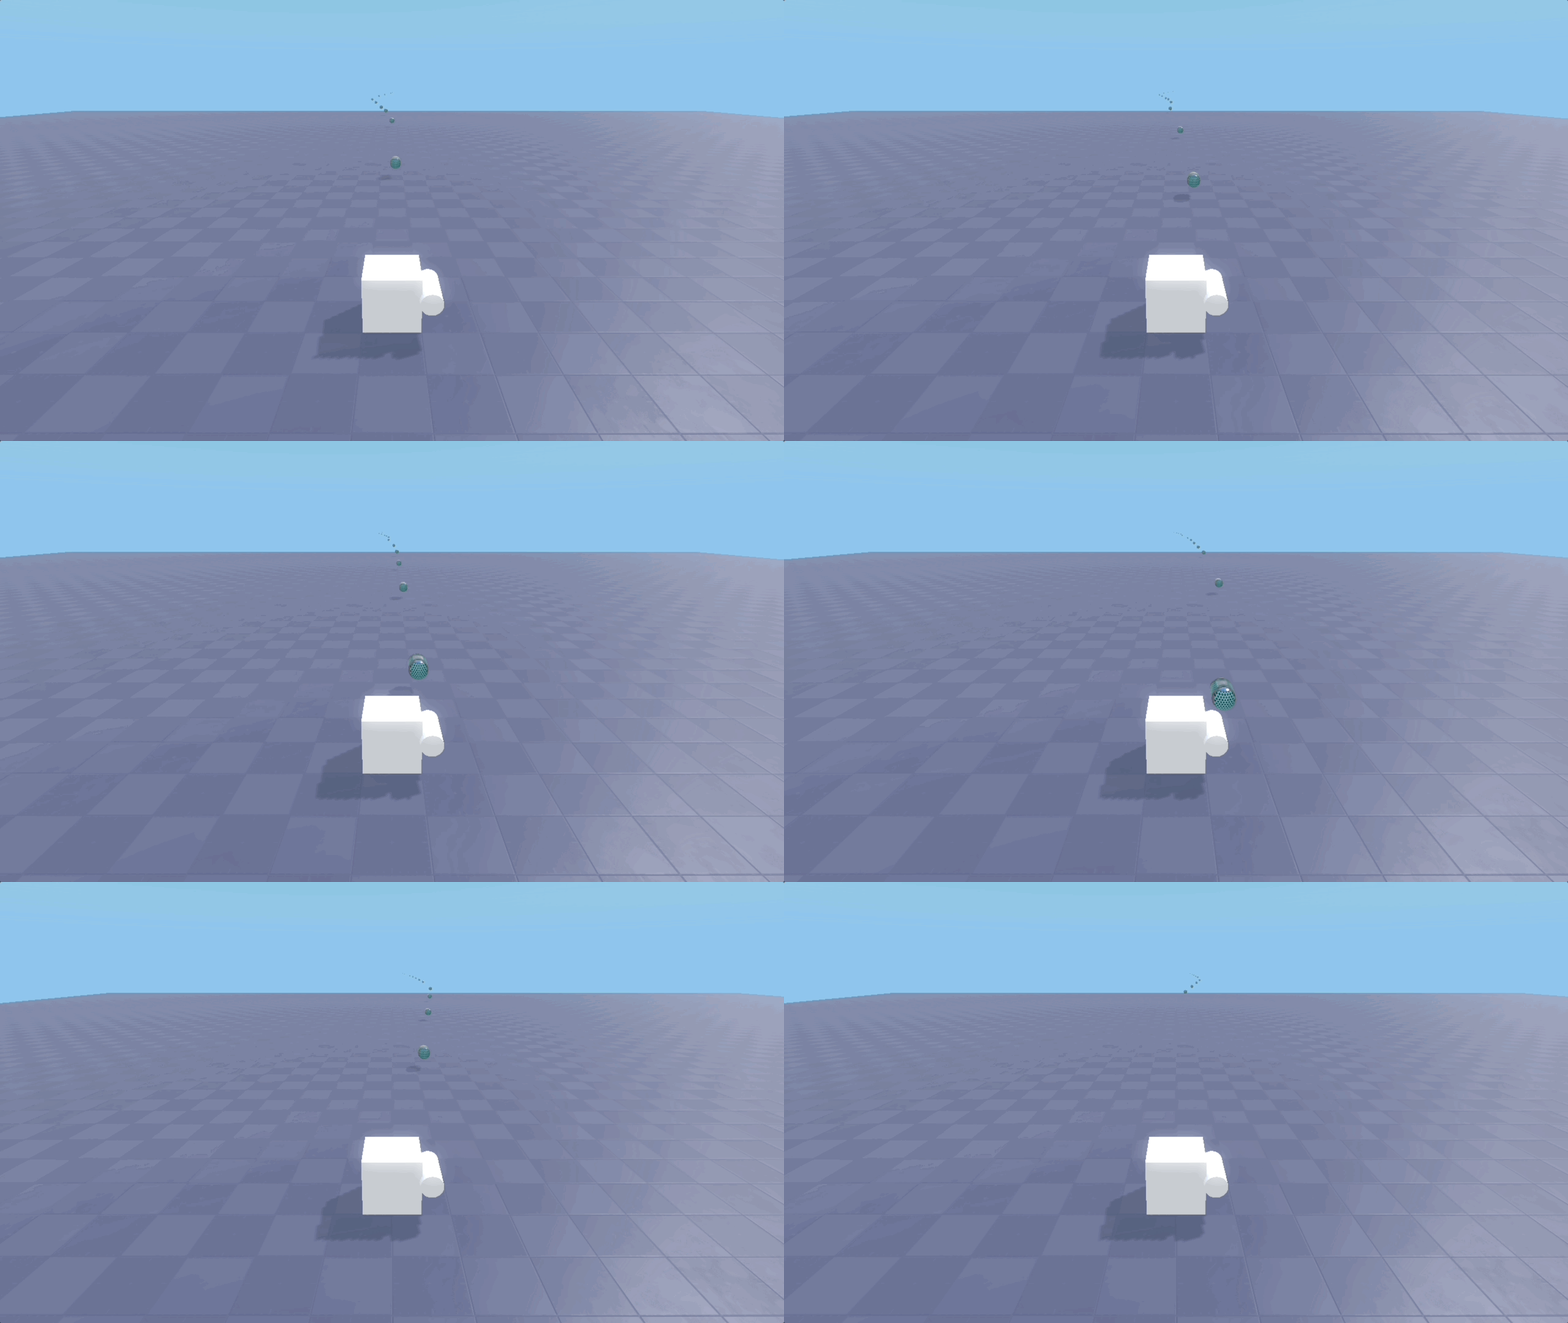
bullet.sceneand create your custom bullet by adding meshes and materials to it. Save the file when you are done. -
Open the
gun.jsscript and add the variableBULLET_SCENEto reference your new scene:const BULLET_SCENE = "scenes/bullet.scene";. -
Replace the lines
hiber3d.addComponent(bulletEntity, "Hiber3D::Renderable");
hiber3d.setValue(bulletEntity, "Hiber3D::Renderable", "mesh", "glbs/Sphere.glb#mesh0/primitive0");
hiber3d.setValue(bulletEntity, "Hiber3D::Renderable", "material", "materials/BasicPaint.material");
with:
hiber3d.addComponent(bulletEntity, "Hiber3D::SceneInstance"); hiber3d.setValue(bulletEntity, "Hiber3D::SceneInstance", "scene", BULLET_SCENE); -
Press play and shoot your newly created bullets!

5. Add some UI
- Lets show the player how much ammo is left in the gun. We do this by sending an event to the web layer and display it using React.
- Open the
gun.jsscript and add the following to the end of theonCreate()andfire()functions:
hiber3d.writeEvent("GunStateChangedEvent", {
    ammo: this.ammo,
    hits: this.hits,
});- Press play and shoot your gun. The UI should now update.
- To modify the UI, look inside the
web/App.tsxfile to find theExampleUIreact component. This component sets up an event listener and renders the UI. Try modifying the UI while playing, it will hot reload your changes when you save the file.

6. Add something to shoot at (using physics)
- To begin we need to replace the old bullet script with a physics based one. Remove the line
hiber3d.addScript(bulletEntity, "scripts/bullet.js");fromgun.js. - Open
bullet.scene. - Add the script
bullet-with-physics.jsto the root entity. - Add the component
RigidBodyto the root entity. - Set these values:
Type = DynamicMotionQuality = ContinuousCollisionGroup = DynamicCollisionMask = Static, Dynamic
- Create a new entity as a child to the root entity and name it
Shape. - Add the component
Shapeto it and choose a shape that matches your bullet (You can add multiple shapes as children to a rigid body to match the form of your bullet). - Adjust the transform position of the Shape entity to align it with the model.
- On the
Shapecomponent, setDensity = 10000. (Adjust depending on how strong the bullet should push the target it hits). - Go back to the
main.scene. - Select the Plane and add a
RigidBodycomponent to it and set:CollisionGroup = StaticCollisionMask = Dynamic
- Add a child entity to the Plane, name it
Shape, add aShapecomponent, set its shape toPlaneShapeandHalfExtent = 50. - Add the
scenes/cubes.sceneto themain.scene(You can drag it from the assets panel to the Scene panel). - Press play and shoot the cubes!

7. Add scores (using collision events)
- Open
bullet-with-physics.jsand add the following line to theonCreate()function:
hiber3d.addEventListener(this.entity, "Hiber3D::CollisionStarted");- Replace the
onEvent()function with this code block:
onEvent(event, payload) {
    if (event === 'Hiber3D::CollisionStarted') {
        if (this.entity === payload.entity2) {
            const entitites = hiber3d.findEntitiesWithScript("scripts/gun.js");
            const gunScript = hiber3d.getScript(entitites[0], "scripts/gun.js");
            gunScript.hits++;
            hiber3d.writeEvent("GunStateChangedEvent", {
                ammo: gunScript.ammo,
                hits: gunScript.hits,
            });
            this.destroy();
        }
    }
}- Open
App.tsxand uncomment this line:
<div>HITS: {gunState.hits}</div>- Press play and watch the hits increase each time you hit a cube.

Next steps
Congratulations! You have now created a very simple game using Hiber3D. You should now have a basic understanding of how to use some of the features in Hiber3D. What to do next?
- Publish your game following the publishing guide.
- Try to add more gameplay features to your game, like a timer, or a health system using scripting.
- Add some custom assets to make it look nicer.
- Have a look at the Guides section in the left sidebar for more in-depth information on specific topics.